Tracking Requests in Jira
An important part of enabling IT teams with AI tools is being able to measure ticket deflection accurately. To do this, you can have your agent track and update ticket statuses dynamically. You can create Jira tickets directly from Credal or you can use the Atlassian Assist tool to manage creating tickets and syncing Jira comments and Slack thread messages. We will assume that Atlassian Assist is being used to automatically create tickets and will respond to the user message with the ticket details.
Create Jira Actions
To ensure that you are connected to Jira, go to the “Action Provider” page and connect to Jira.
Now we can go to the Actions tab on the left hand side panel and hit “Create new Action.”
Type in “jira” in the search bar to filter down to Jira actions, then hit “Bulk create Jira actions.”

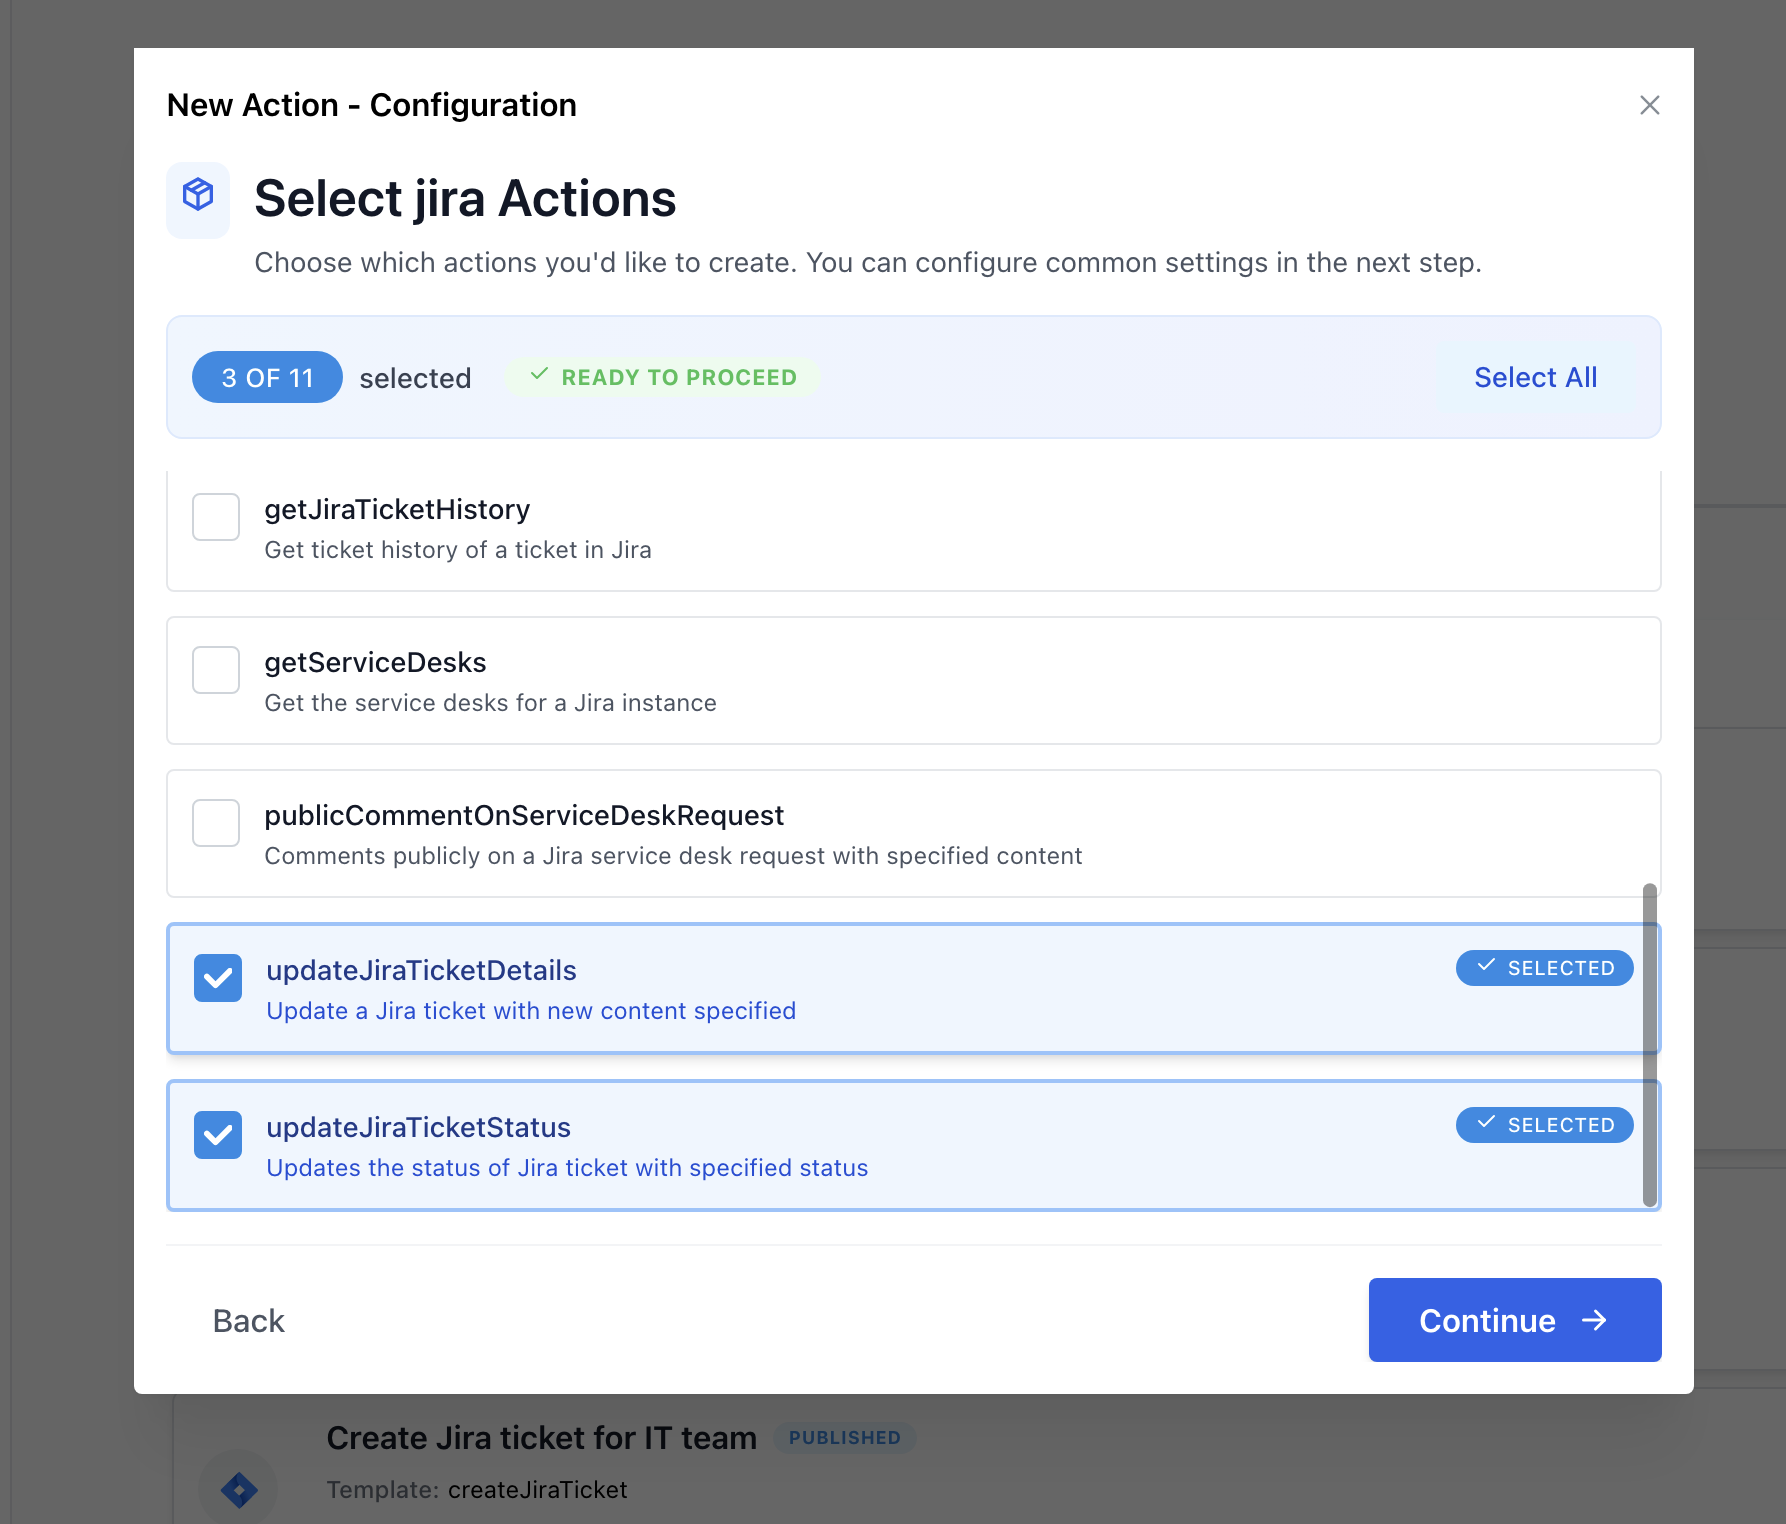
Now select the following templates:
- Get details of a ticket in Jira (Template name:
getJiraTicketDetails) - Update the status of a Jira ticket with specified status (Template name:
updateJiraTicketStatus) - Update a Jira ticket with new content specified (Template name:
updateJiraTicketDetails)
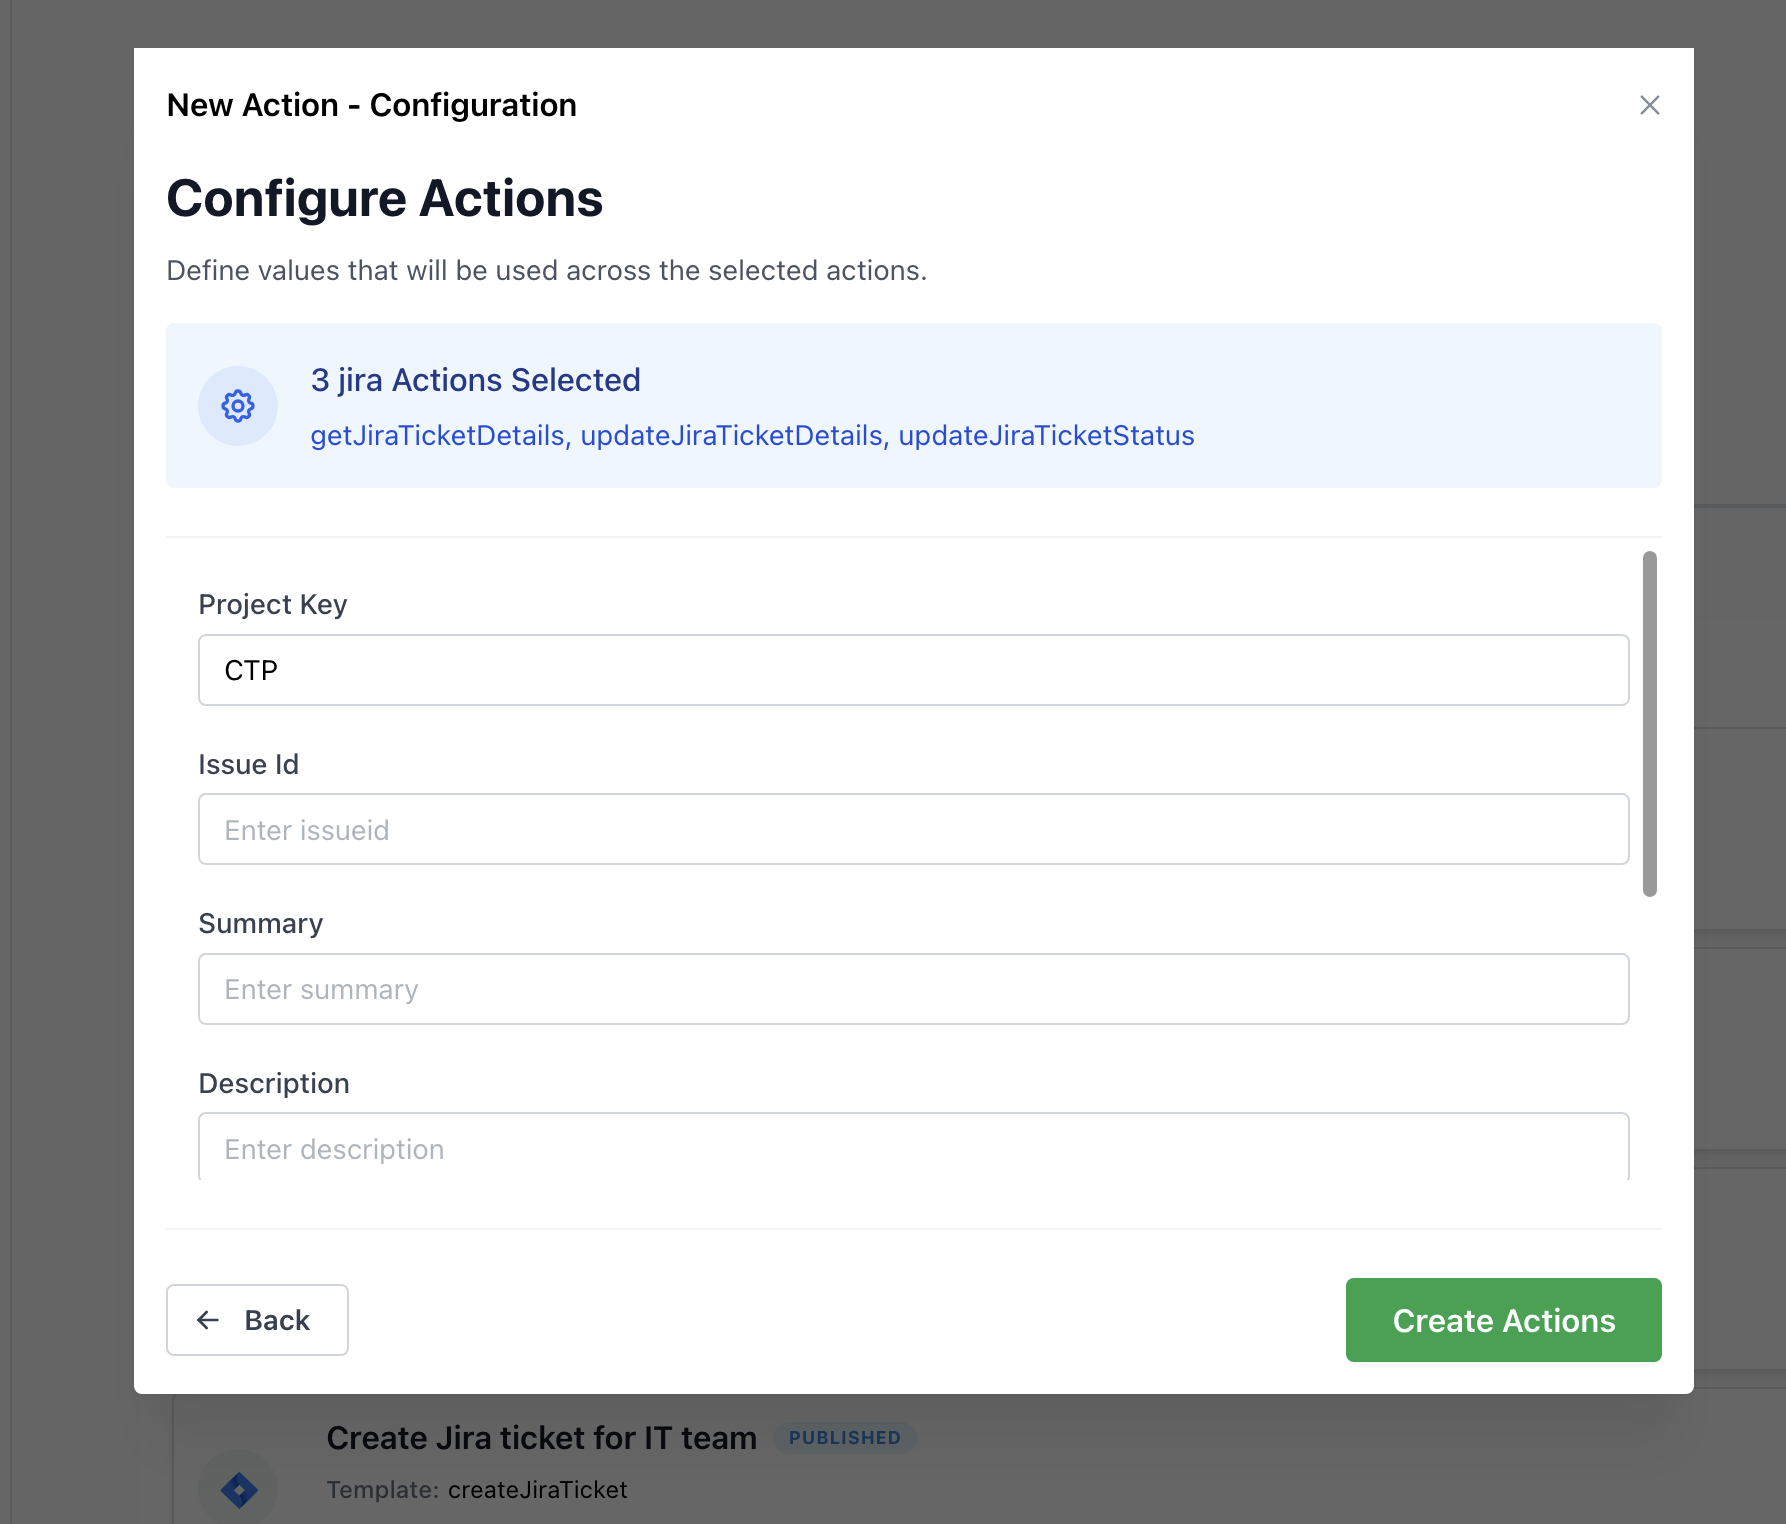
Fill out the fields that will be the same across all actions, in this case it’s just the project key.
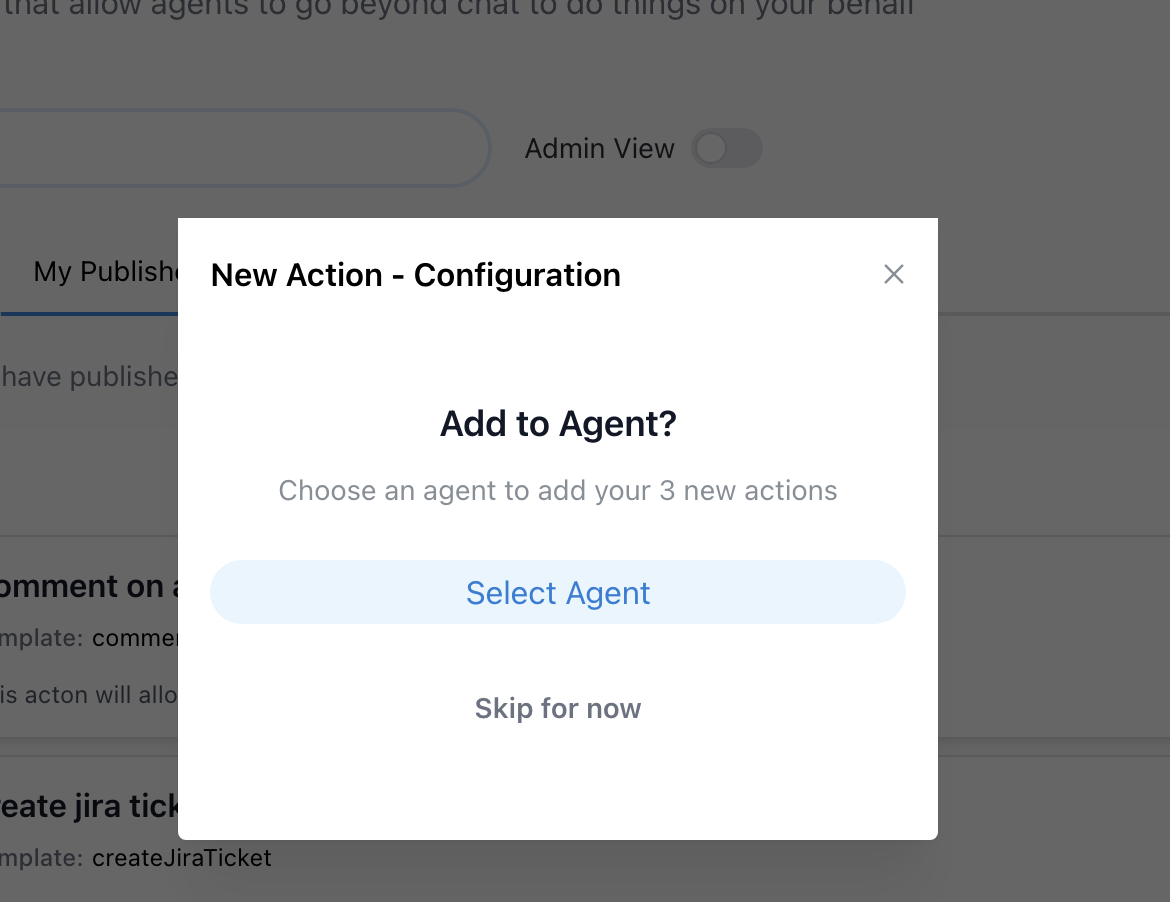
Then add these actions to your Ask IT agent.
Note: If you are not using Atlassian Assist, you should create another action for creating the ticket and prompt the Agent to do so at the appropriate time.
Configuring the Actions
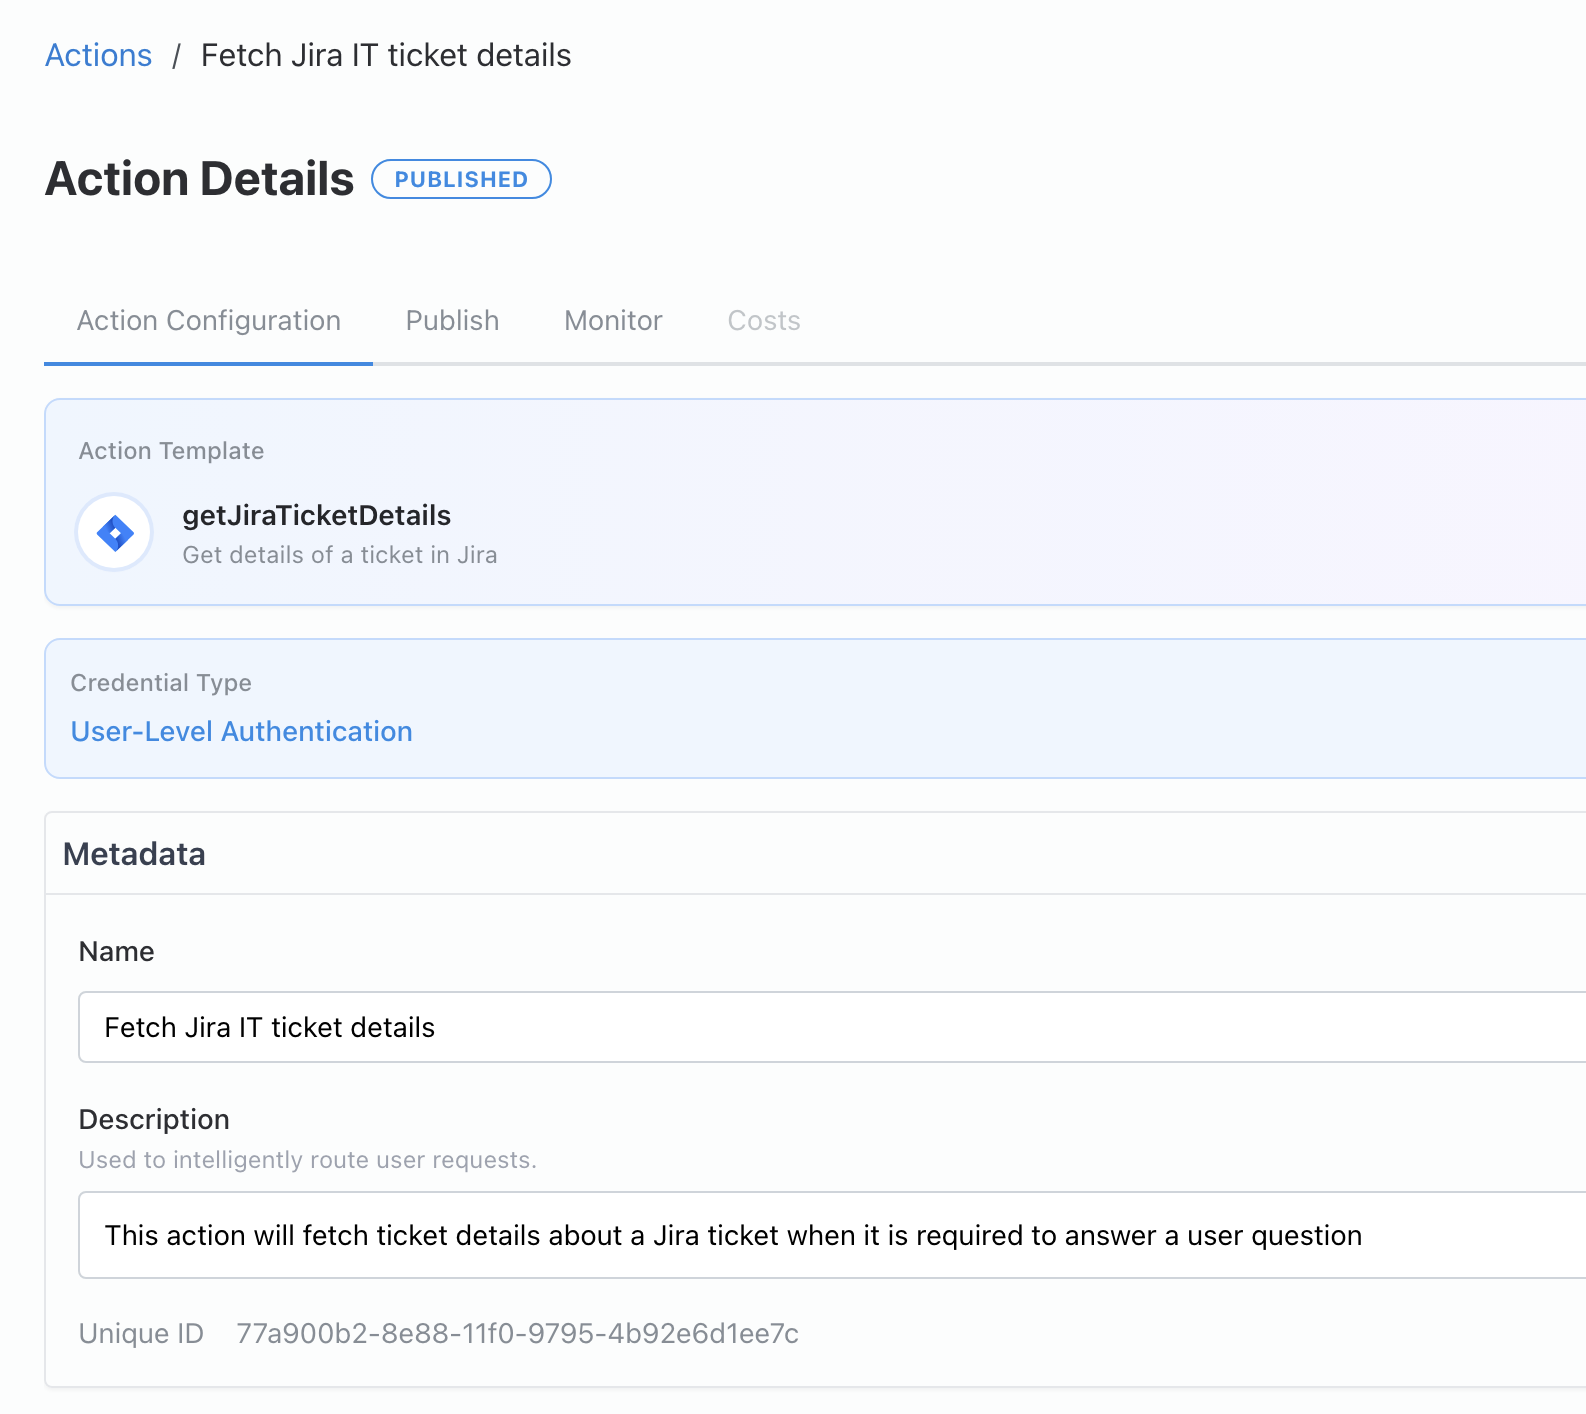
Let’s navigate to each of these actions by searching for them in the Drafts section. We should give each one a high quality name and description because this is what the agent will use to decide when to use it. We can also pre-configure action parameters to reduce chance of error when the Agent is deciding what to fill into each blank.
For the getJiraTicketDetails action:
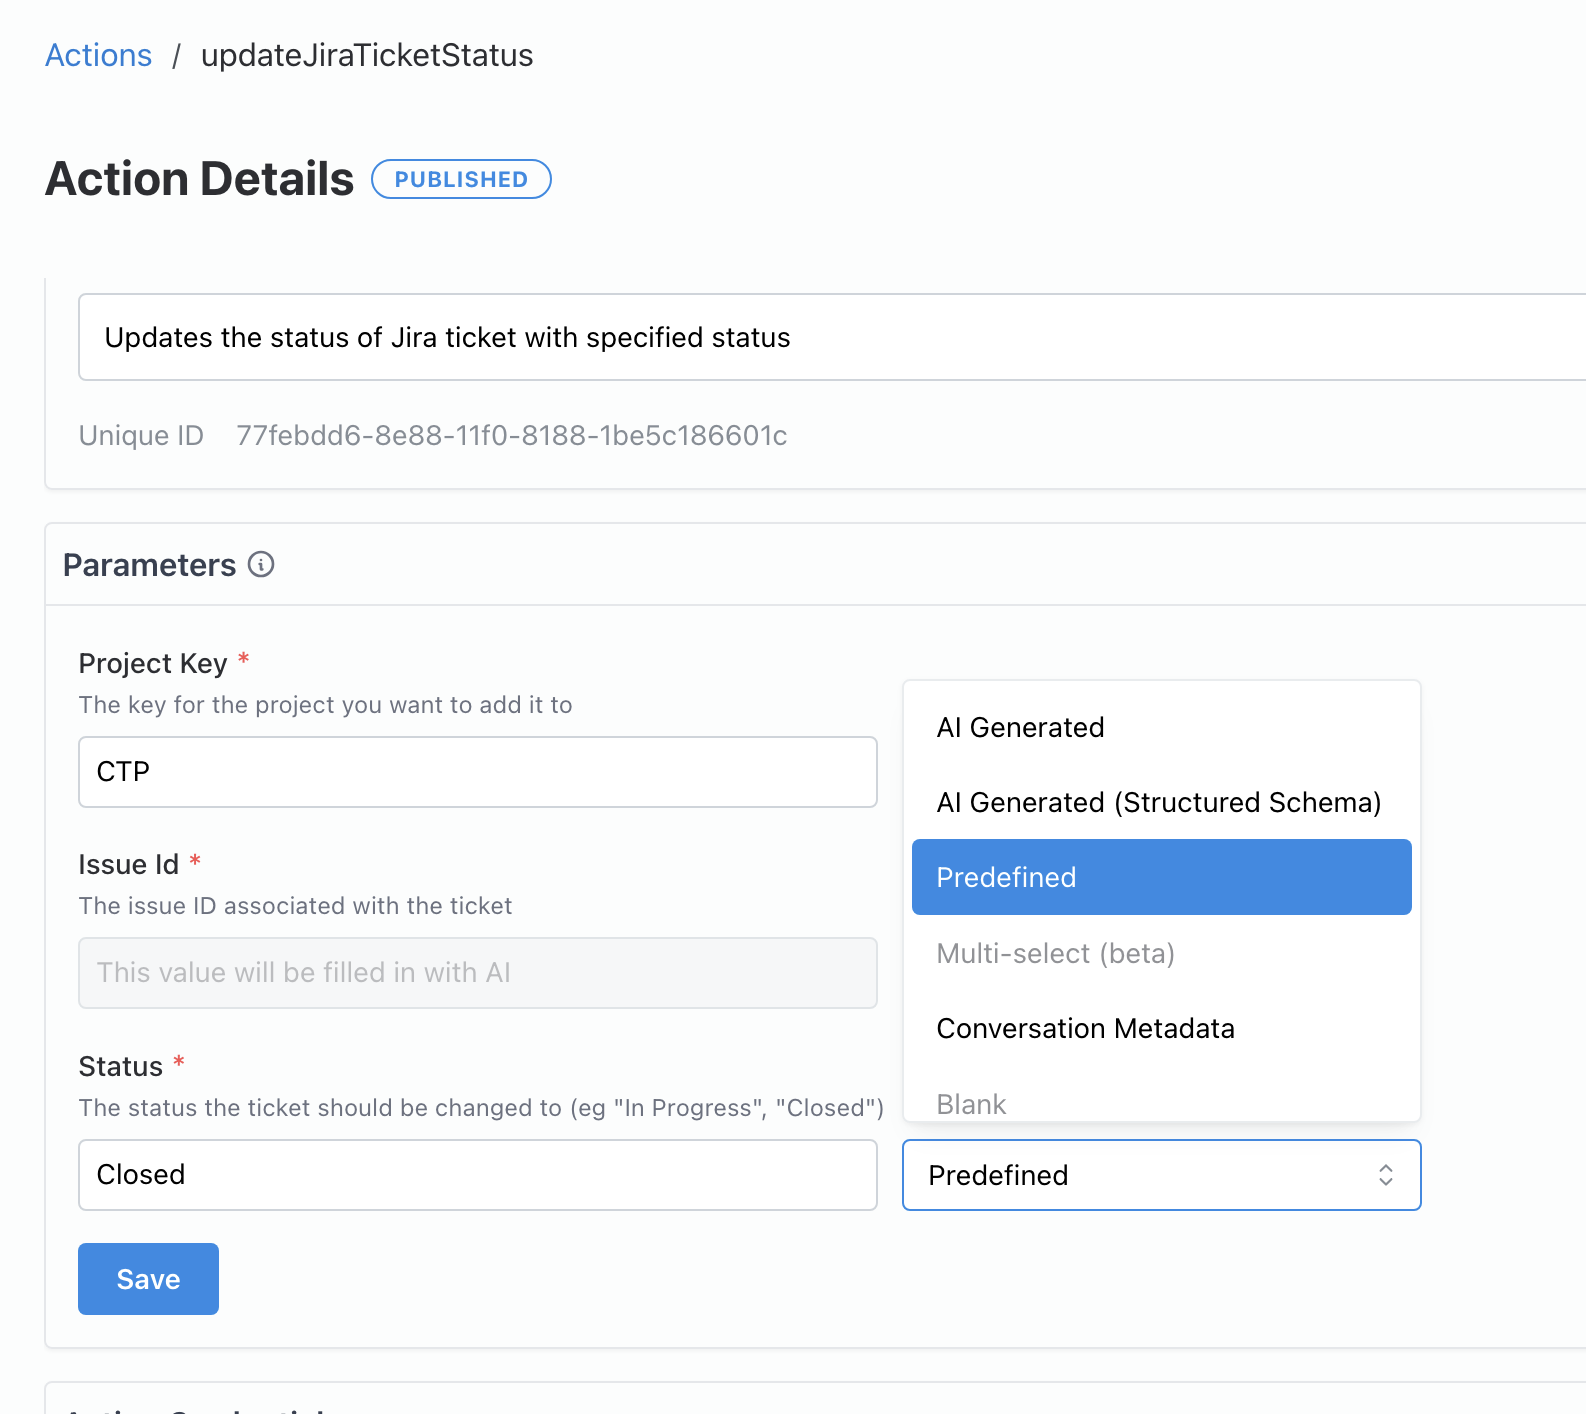
For the updateJiraTicketStatus action:
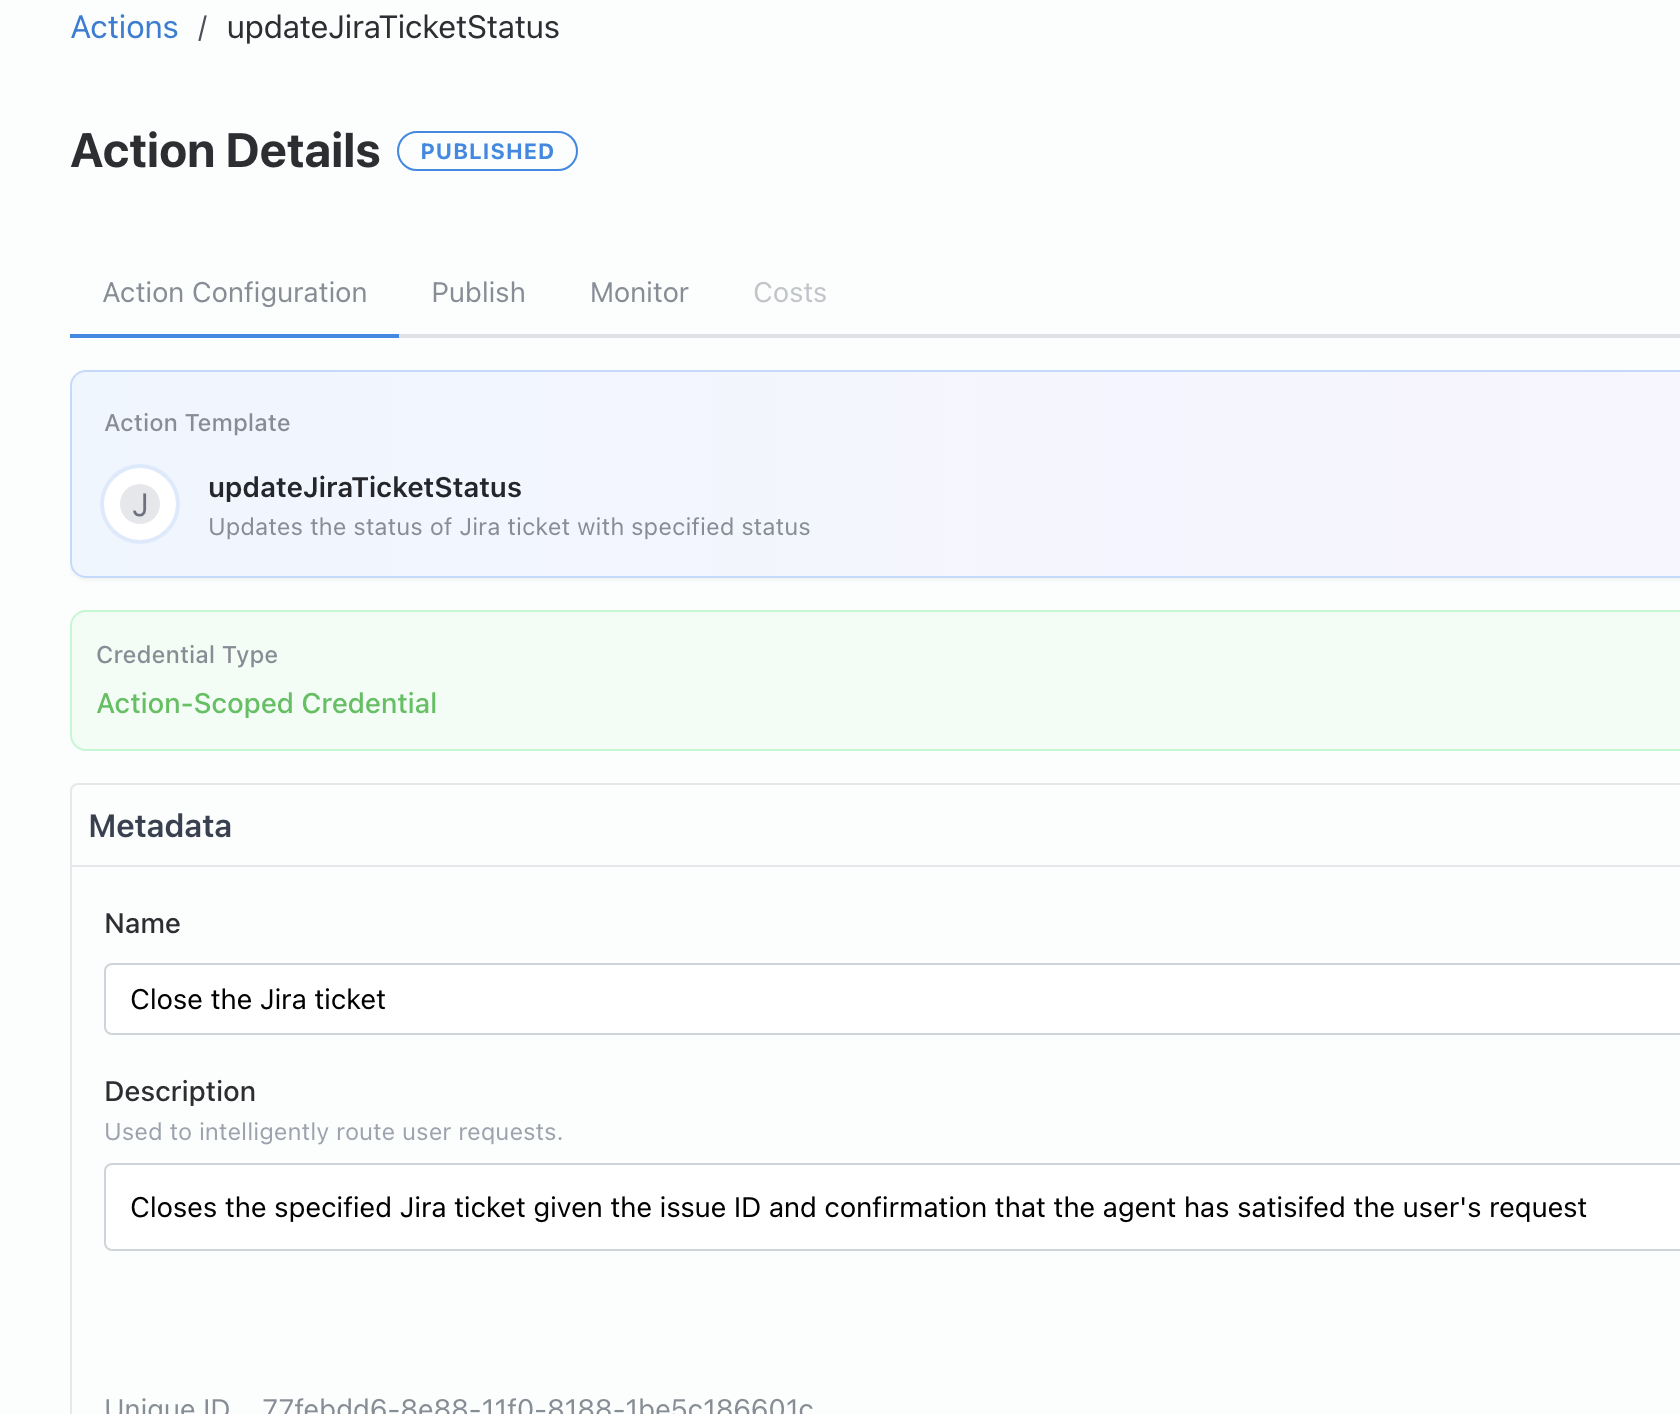
Let’s set the status parameter to be “Closed.”
For the updateJiraTicketDetails action:
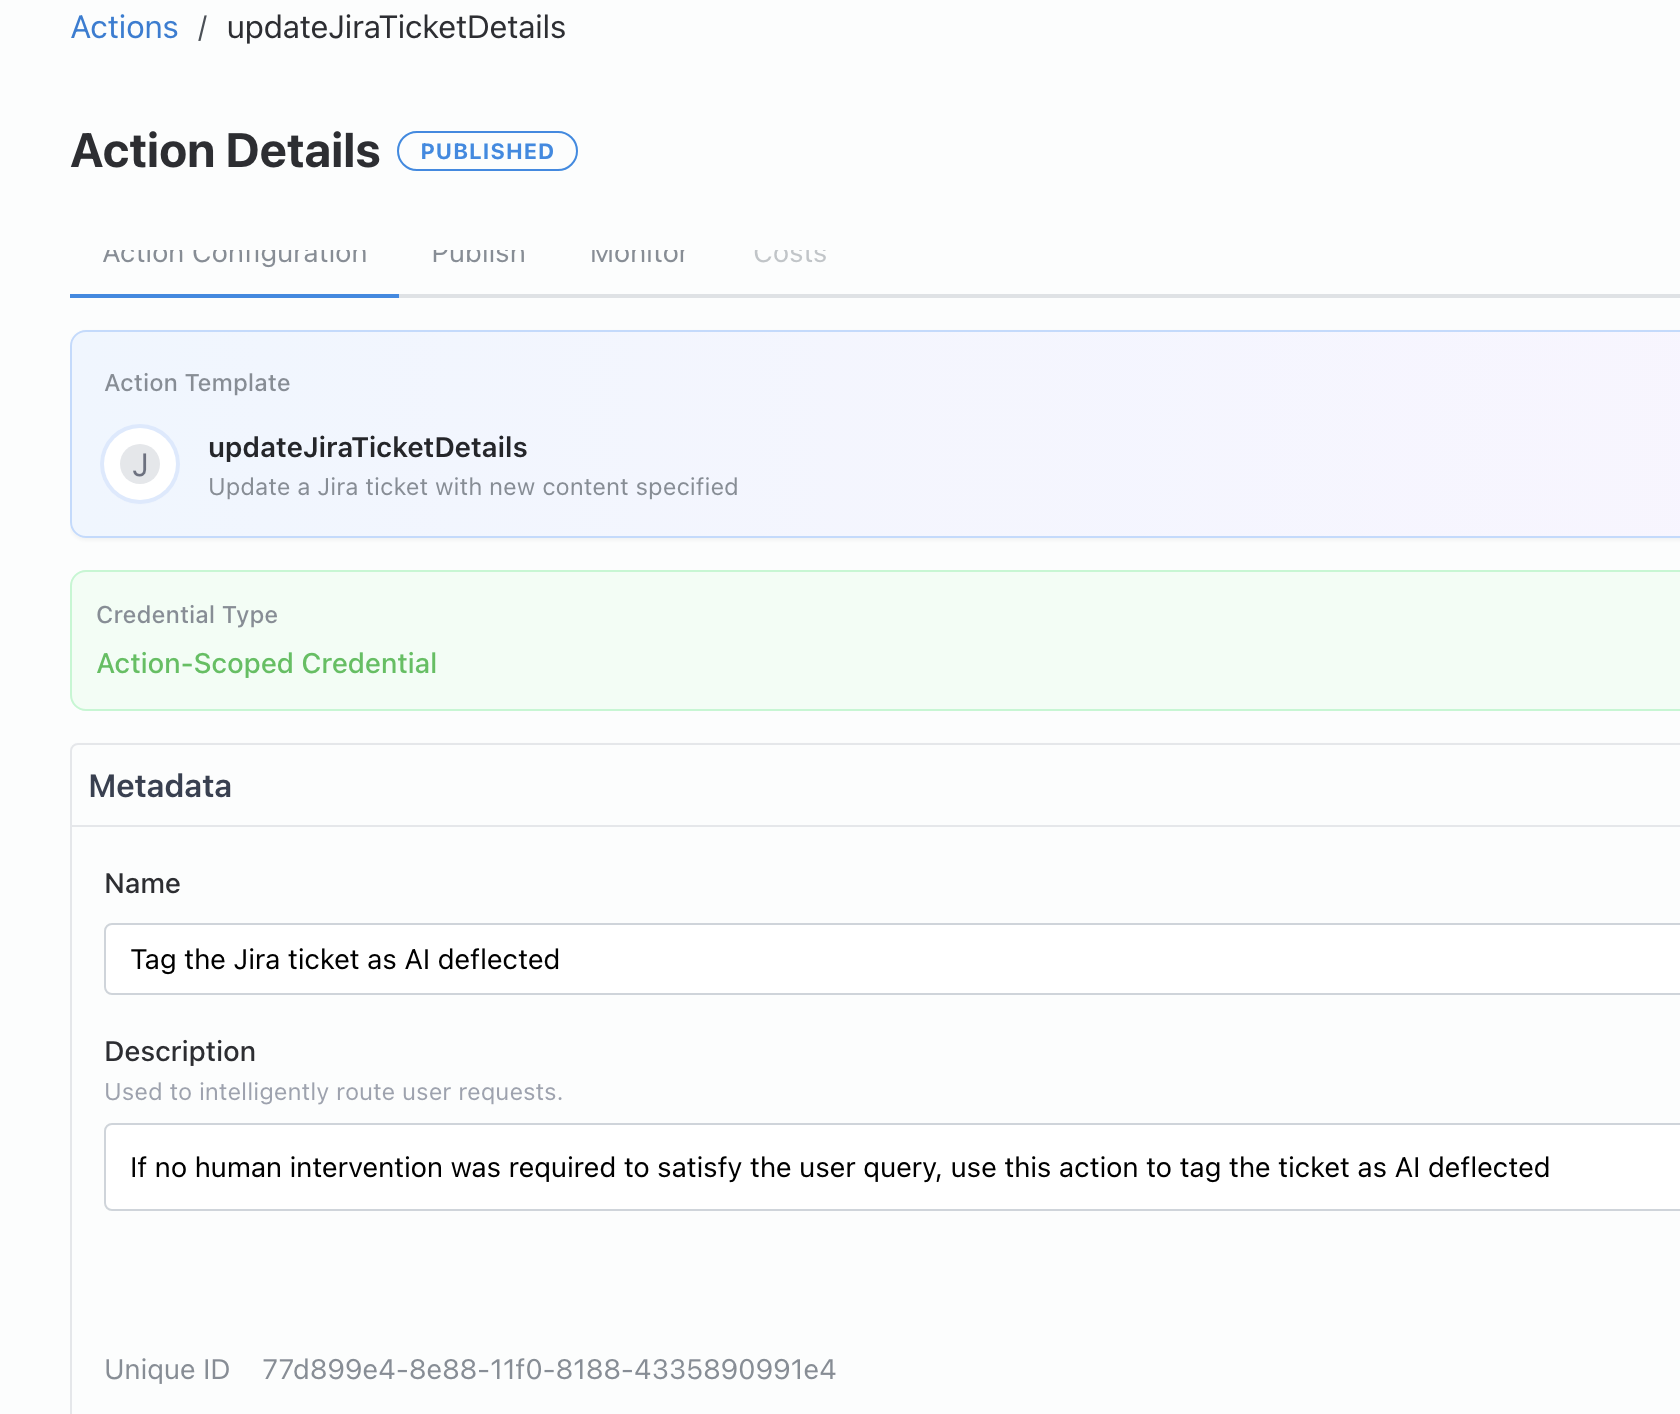
We want to mark the ticket as “AI deflected.”
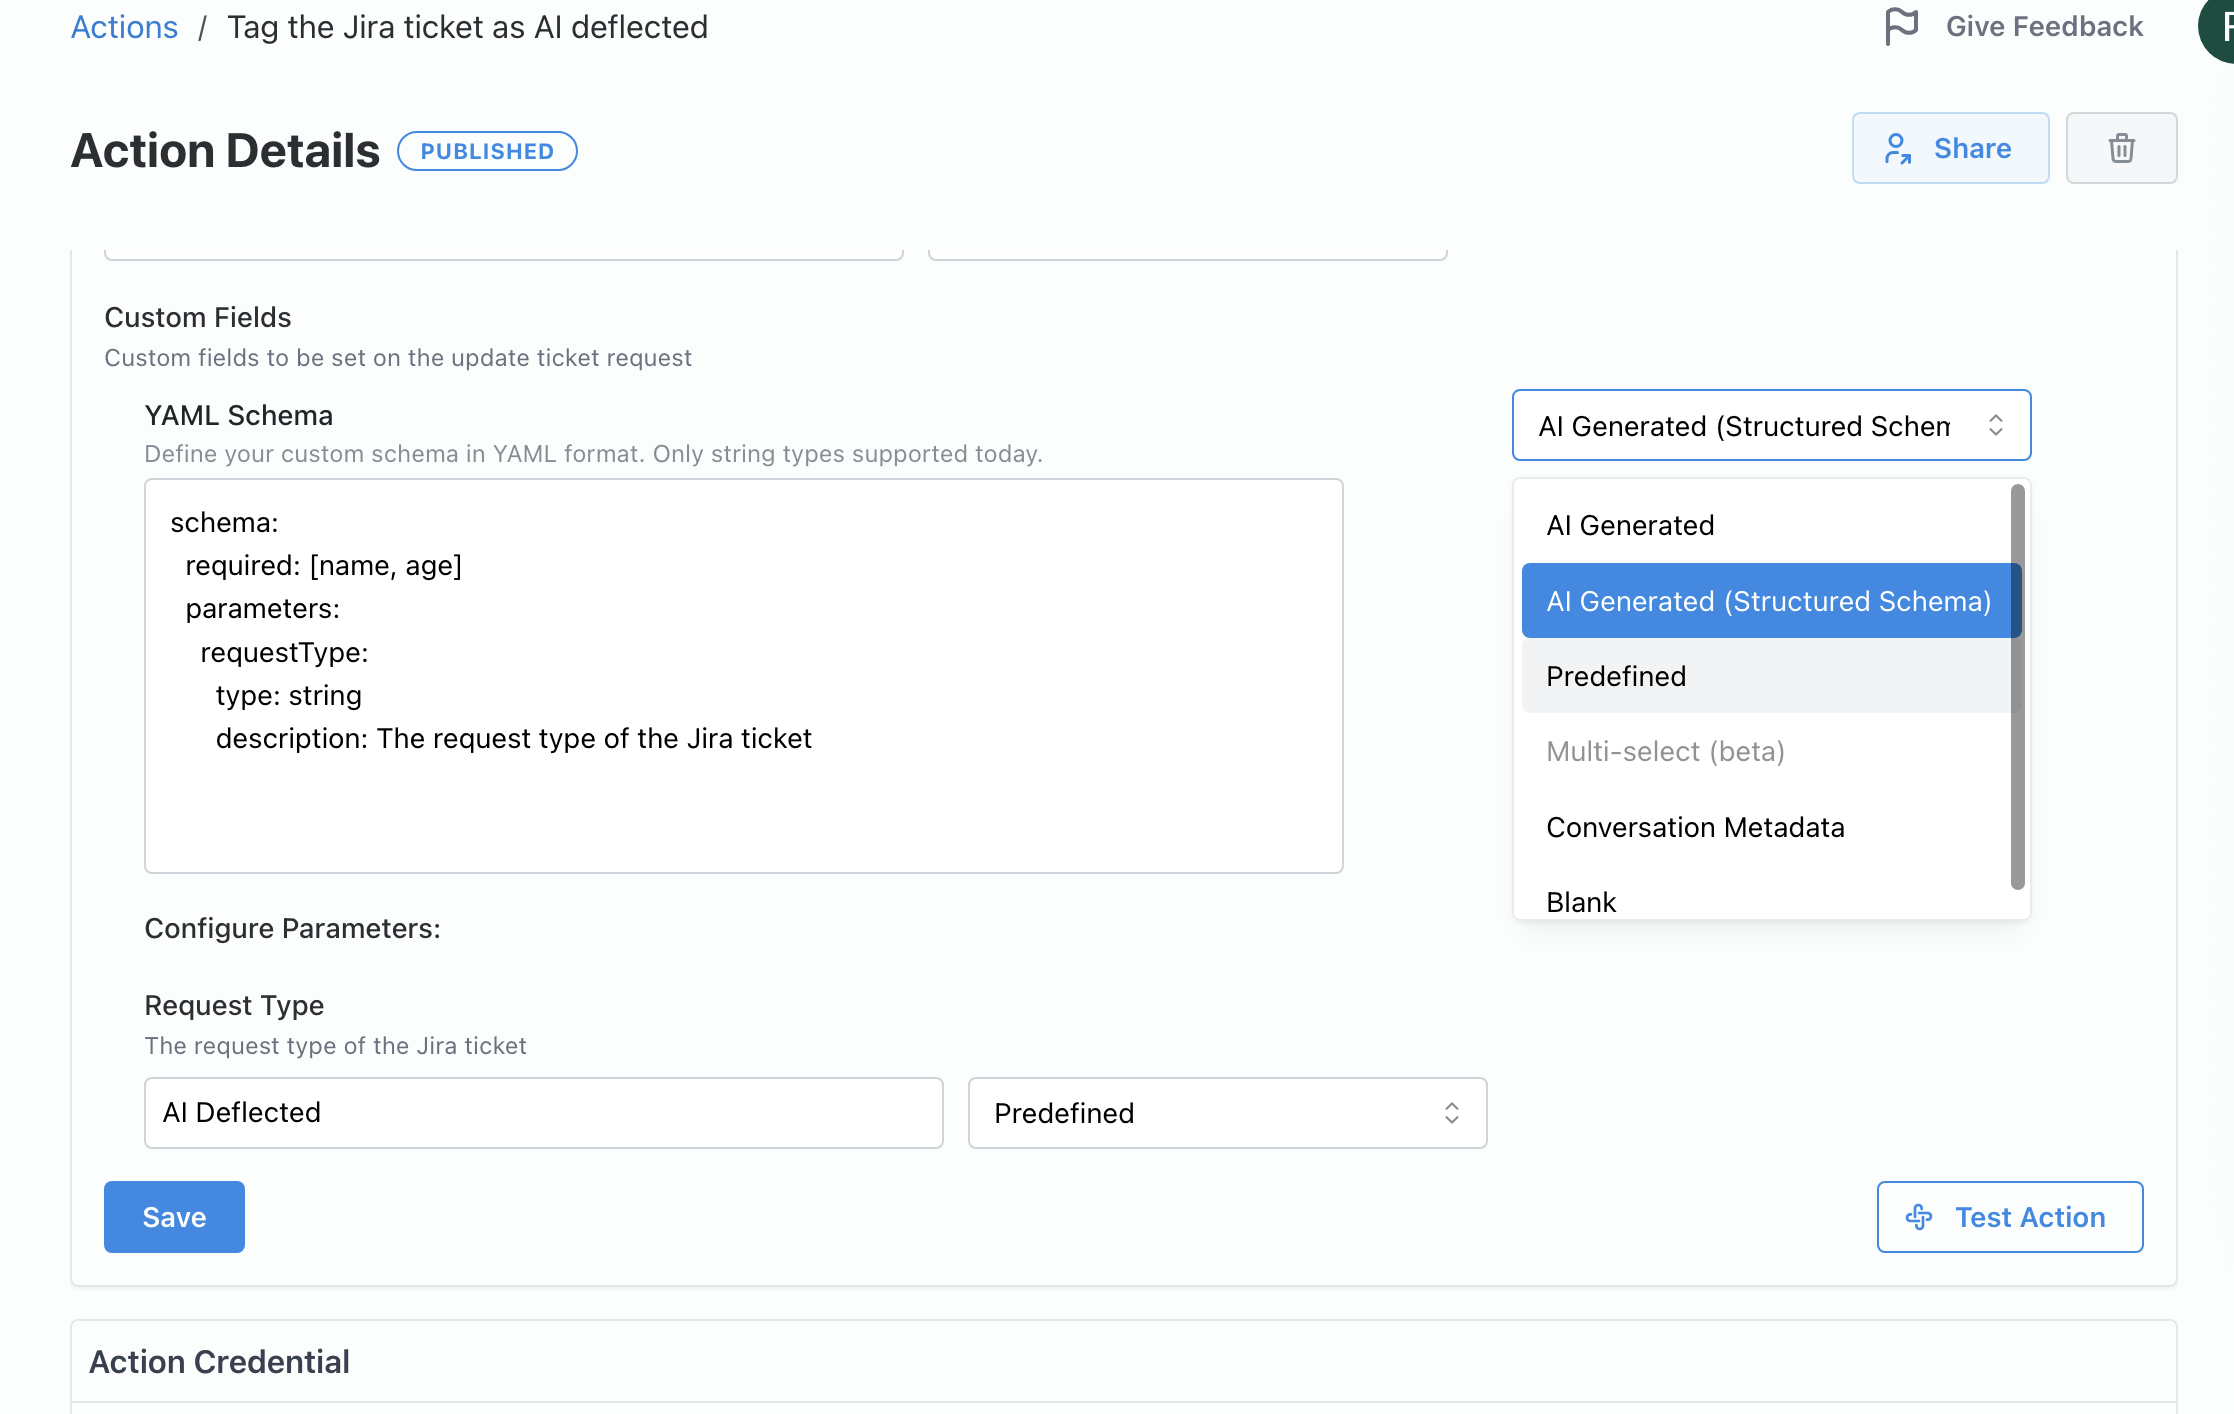
You can use the “Test Action” button to ensure that they are working as expected.
Revise the Agent’s Instructions
At this point, your IT/Security agent’s Actions section should have the following actions.

Now that we have created our actions and attached them to the agent, we want to make sure the agent knows exactly how to use them. Let’s revise our prompt to have the following instructions.