Setting Up An Agent
This is a comprehensive in depth guide for Agents. If you’re just getting started, check out Getting Started With AI Agents.
Credal’s AI agents empower users to set up dedicated assistants for a wide range of use cases, from customer support to contract review.
Agents can assist with any task that combines AI and data. They’re designed to be experts on the data and context you provide. They combine AI with your data to provide accurate, context-aware responses while citing their sources.
It’s helpful to understand what you want your agent to accomplish from the start, so you can set it up to achieve its objectives.
Creating Your Agent
To get started:
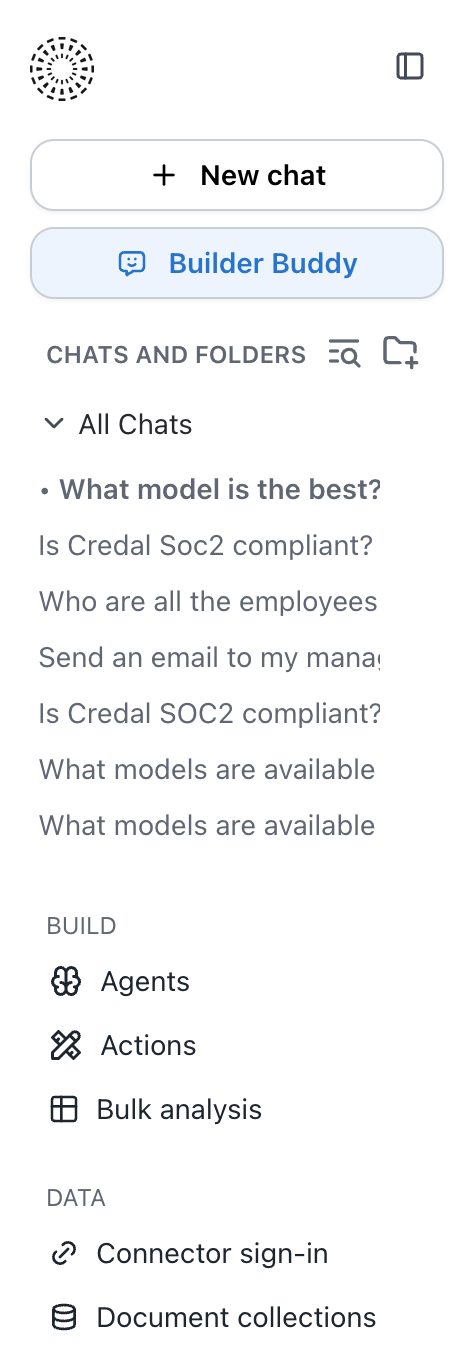
On your left sidebar, select “Agents”:
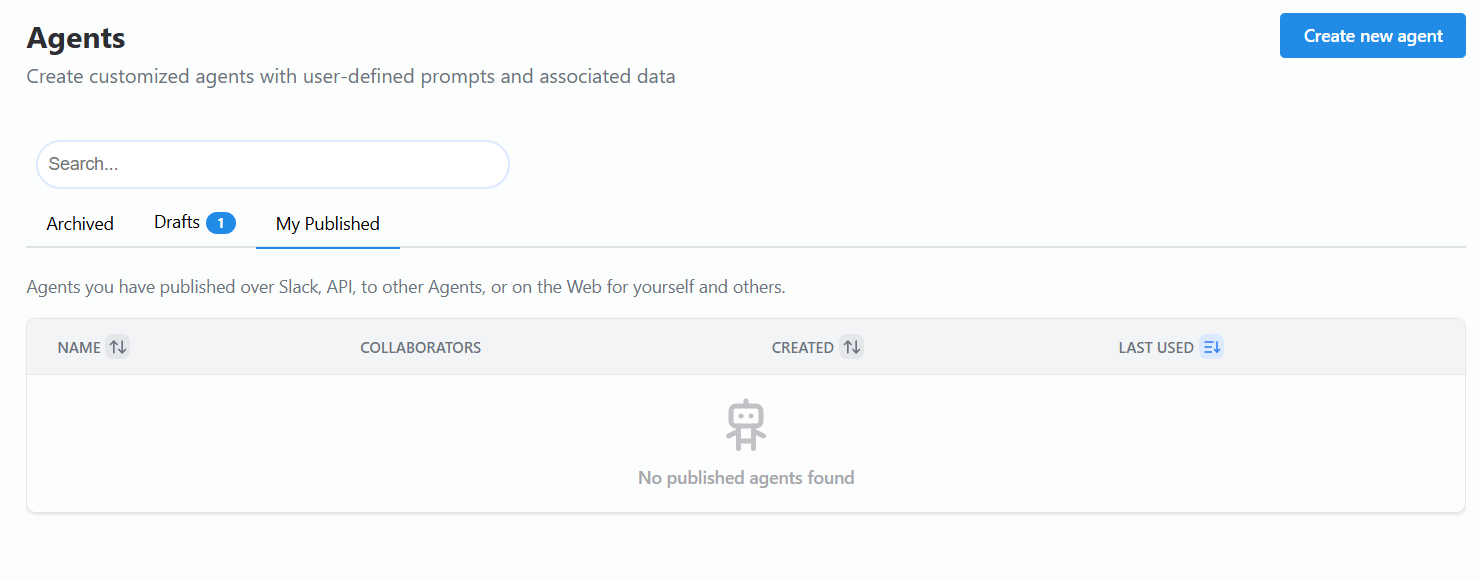
Then click “Create New Agent”:
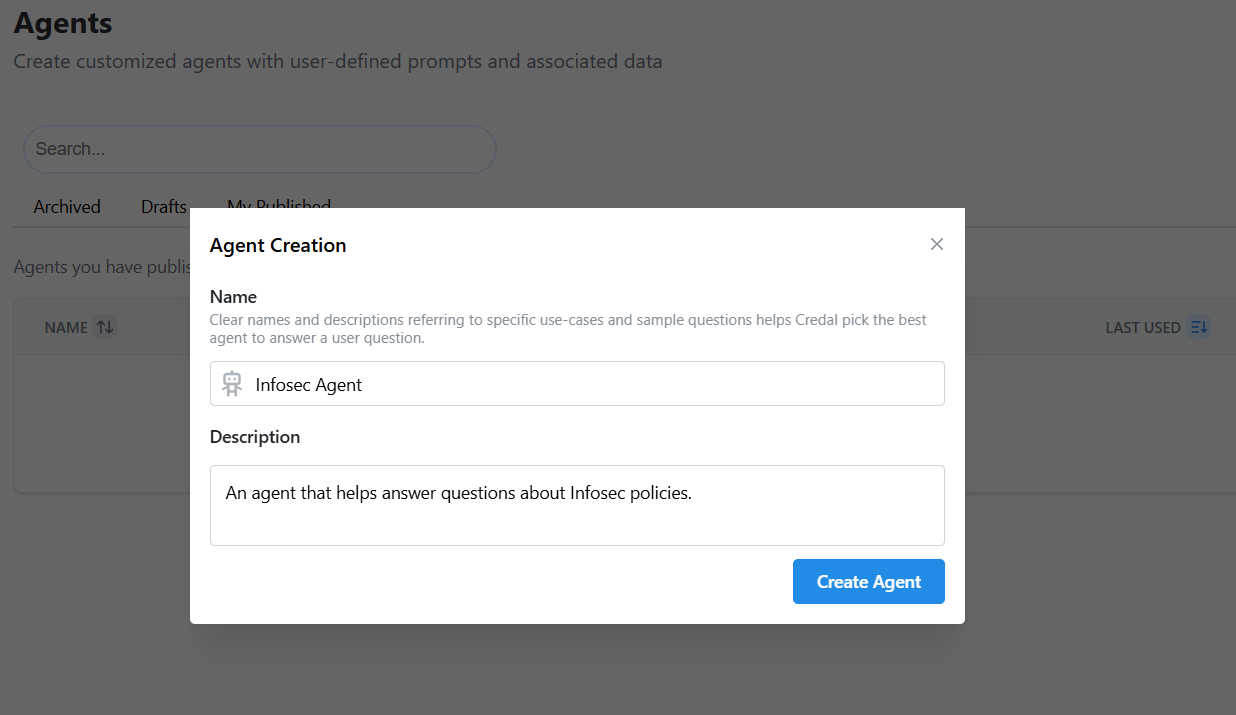
Give your agent a name and add a description of its function in the pop-out form. When configuring your agent, try to be as detailed as you can with the description, as it helps Credal intelligently route queries to the most relevant Agent when you’re creating multi-agent workflows.
The description should cover:
- The agent’s intended purpose or use case
- Intended audience
- Any special rules or instructions
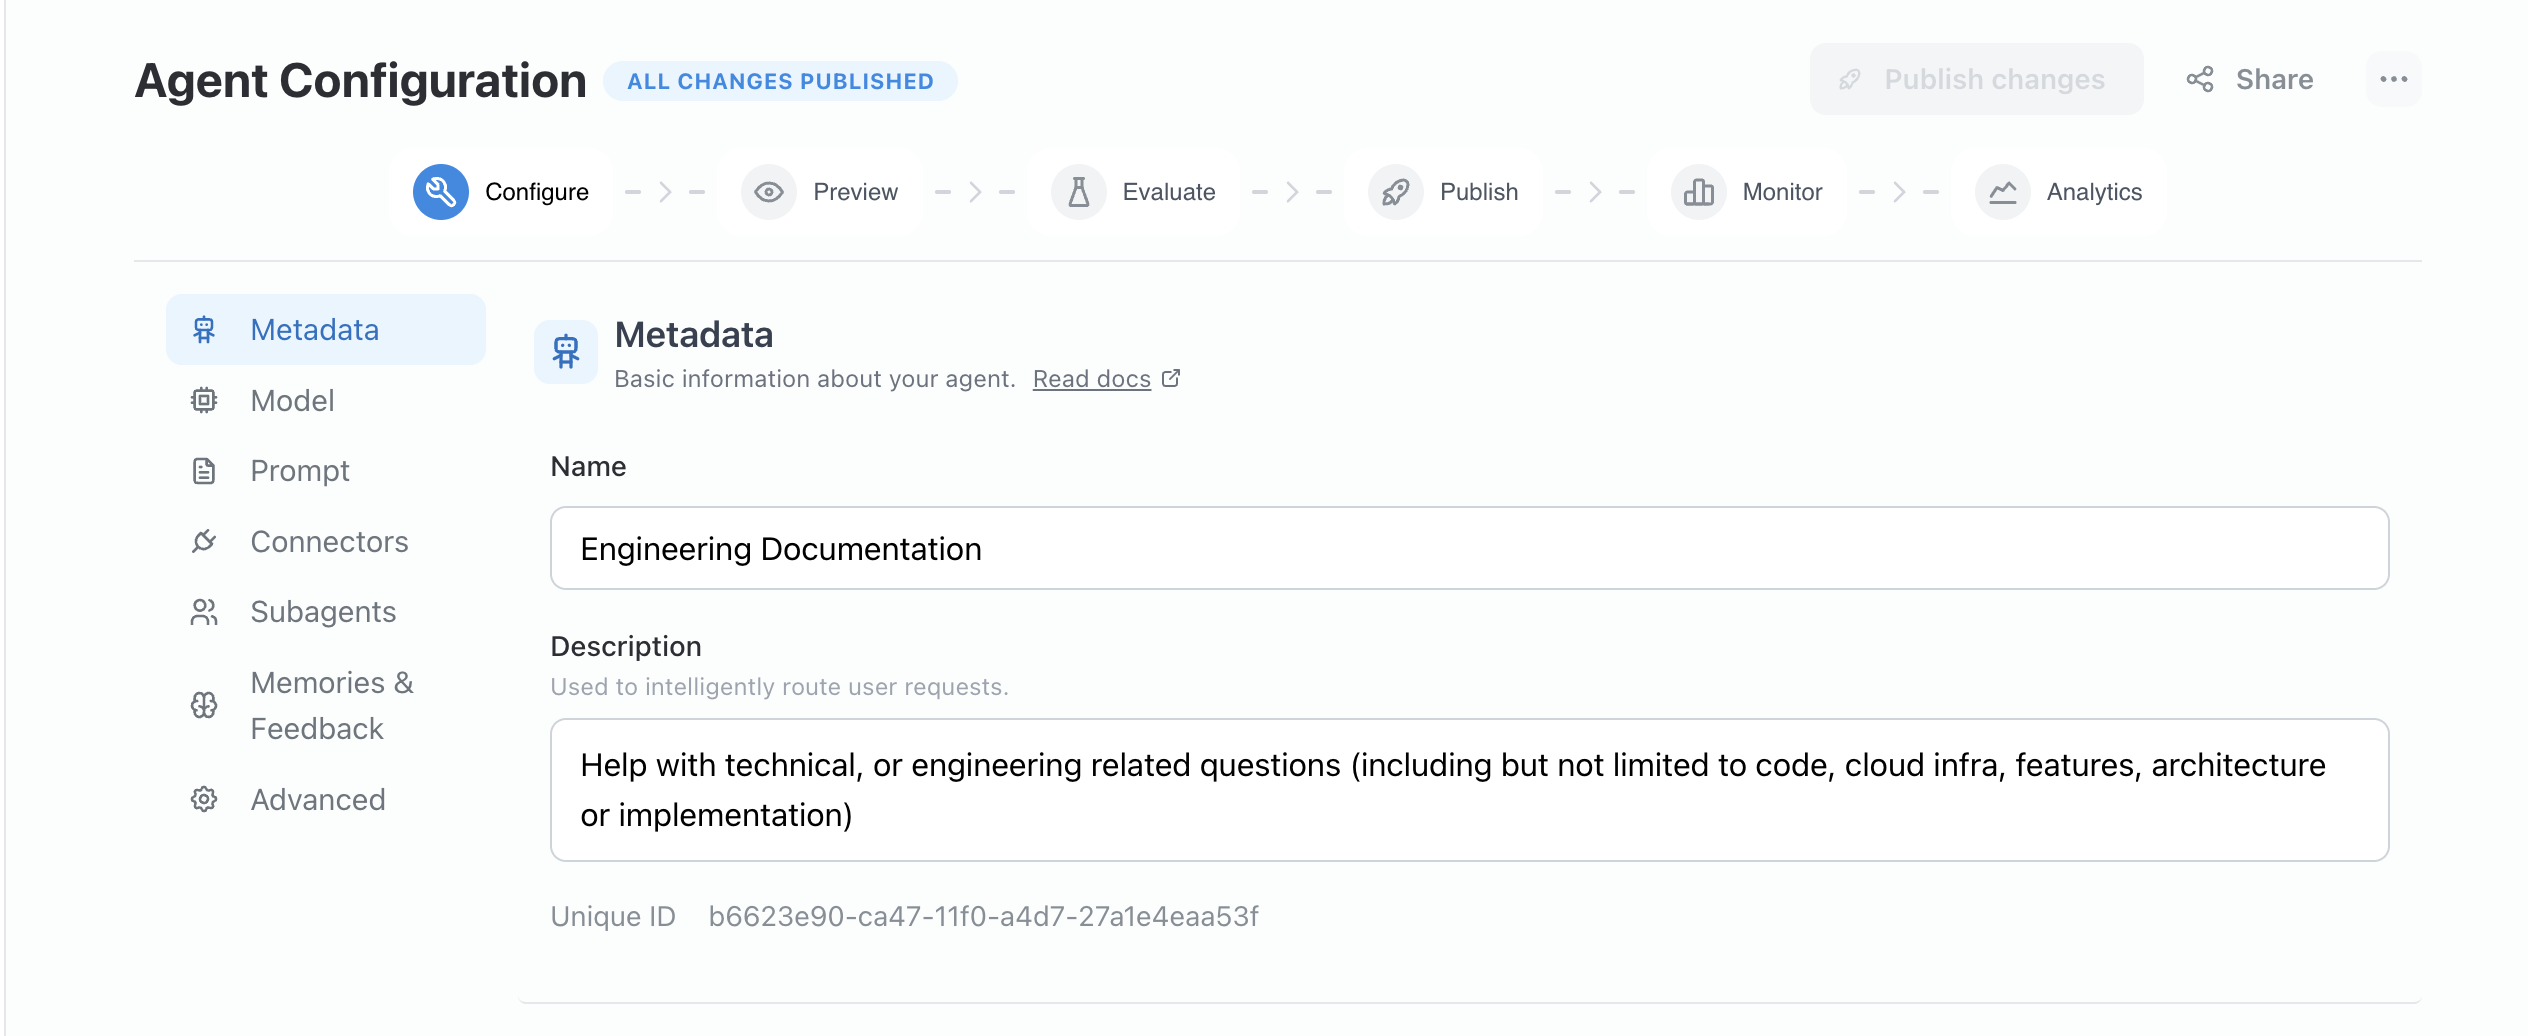
The name and description can be edited at any time from the Agent Configuration page.
Then select “Create Agent”
Sharing Your Agent
You can add collaborators to your agent by selecting “Actions” → “Share” button in the top right of your Agent Configuration page. This is useful for when you want one or more team members to be able to help build and maintain your agent.

Owners vs. Collaborators
Every agent has a list of collaborators — people who can view or edit the agent. Among those collaborators, one person is designated as the owner.
The owner is not a separate permission level. They have the same editing abilities as any other collaborator with edit access. What makes the owner special is:
- They’re the face of the agent — the owner’s name appears as the agent’s creator in places like the agent picker and CSV exports.
- They can’t be removed — to prevent accidental orphaning, the owner cannot be deleted from the collaborator list. If someone else should take over, ownership must be transferred first.
- Ownership is transferable — any editor on the agent can click the award icon next to another collaborator’s name to make them the new owner.
How Many Owners Can an Agent Have?
An agent has exactly one owner at a time. When you create an agent, you automatically become the owner. If you’d like someone else to be the owner, you can transfer it from the collaborator list on the agent’s settings page.
Why Doesn’t Sharing an Agent Include Access to Its Document Collections?
When you share an agent with someone, they do not automatically get access to the document collections that the agent searches over. These are separate permissions, and that’s intentional.
Document collections often contain sensitive company data synced from systems like Confluence, Google Drive, or Salesforce. The permissions on that data are managed independently — sometimes reflecting the original source system’s access controls. Automatically granting collection access just because someone was added to an agent would risk exposing data they shouldn’t see.
Instead, when you add a new collaborator to an agent, the system checks whether they already have access to any connected document collections. If they don’t, you’ll be notified so you can decide whether to grant them access separately. You can also review a collaborator’s access at any time from the collaborator list on the agent’s settings page — collaborators who are missing access to one or more connected collections will be flagged. This keeps you in control of who can see what data.
Best Practices for Agent Ownership Handoff
When creating an agent, avoid attaching manually uploaded documents that aren’t publicly accessible. If the agent’s ownership is later transferred to someone else, those private documents may become orphaned — the new owner won’t automatically inherit access to them, and the original uploader’s permissions don’t carry over. This can leave the agent unable to search over its own data, and resolving it requires an admin to manually re-share permissions for those documents.
To keep ownership transfers smooth:
- Use shared document collections instead of manual uploads whenever possible. Collections have their own permission model and aren’t tied to a single user.
- Ensure connected data sources are accessible to the team, not just to the original agent creator.
- Review attached documents before transferring ownership to confirm the new owner (and other collaborators) can access everything the agent depends on.